LawGrader helps you give students faster, fairer, and better feedback. It does not replace your judgment. You stay in control of every score, and the assistant does the reading-heavy work so you can spend your time where it matters.
Here is the whole loop, start to finish. Each step links to the guide that goes deeper.
1. Create a class
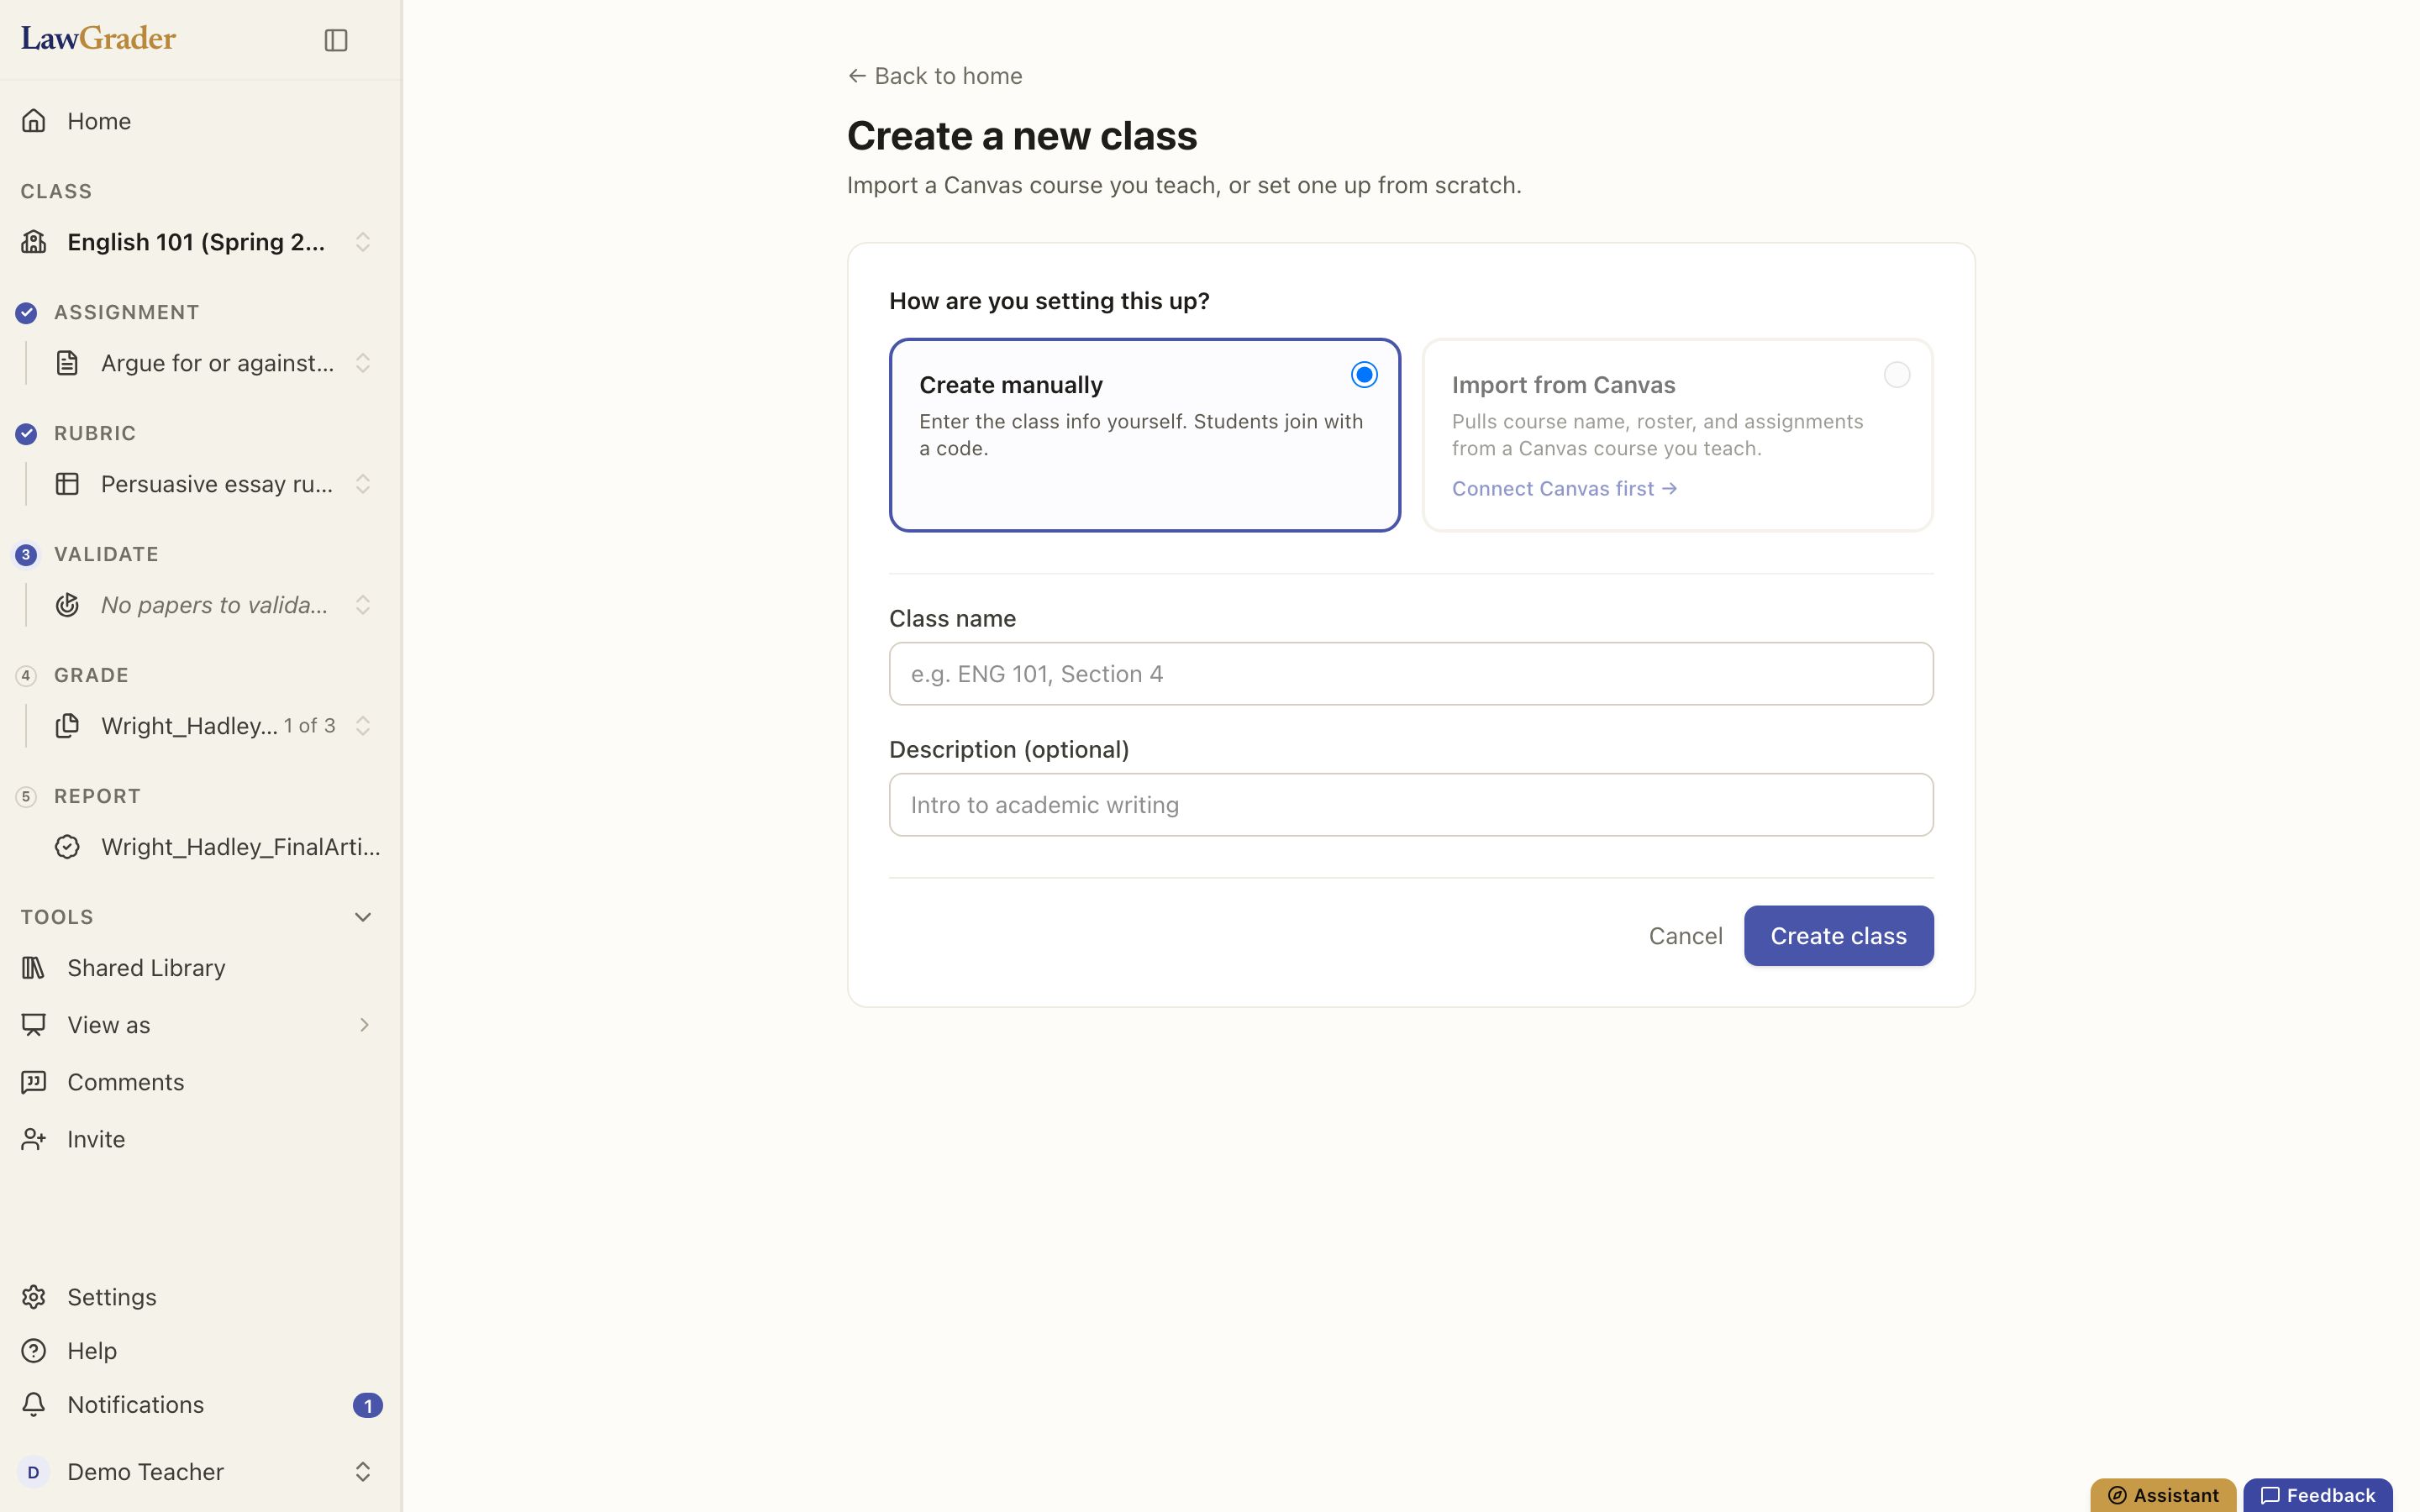
From the home page, choose New class. You can set one up from scratch, or import a course you already teach from Canvas. A class holds your assignments, your roster, and your grading defaults. See Your home page and the left rail.
2. Build an assignment
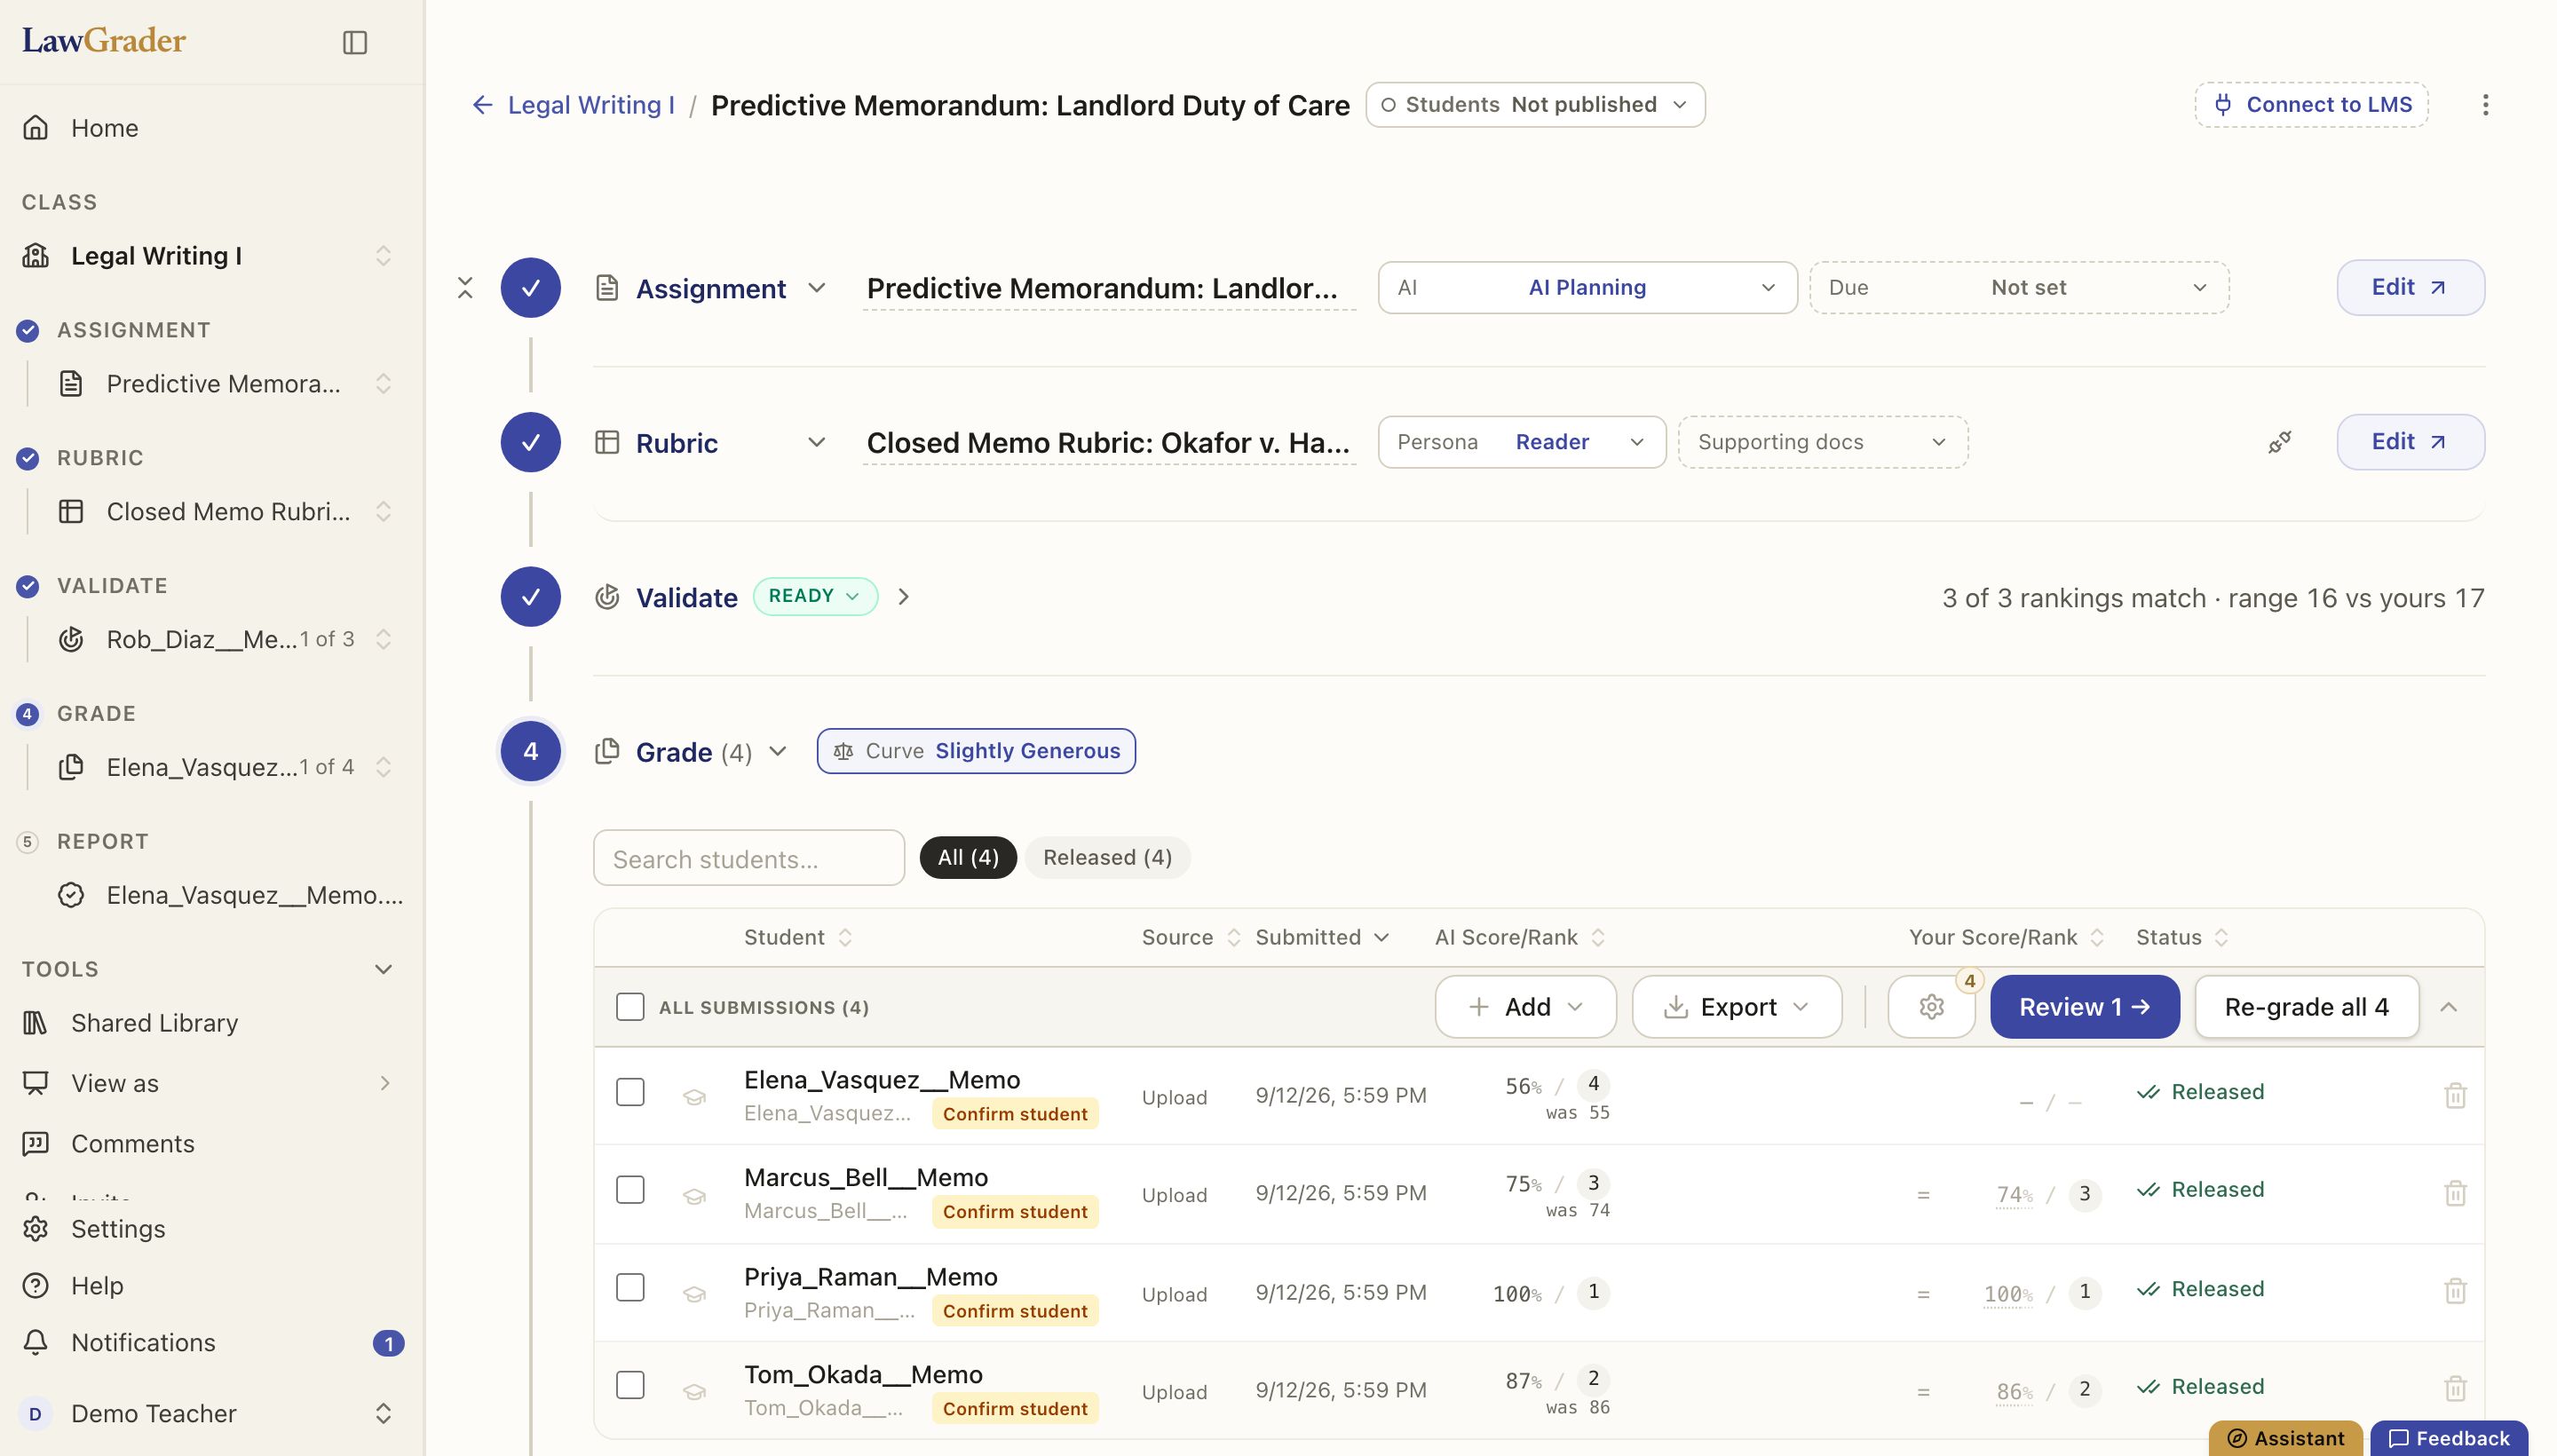
Open your class and choose New assignment (or Build your first assignment on an empty class). The assignment page lays the work out as five steps, in order: Assignment, Rubric, Validate, Grade, Report. Every assignment starts with one question: is the student allowed to use AI on this assignment? Your answer sets the tone for how work is read.
From there you have a few ways to write the prompt:
- Upload a file (Word, PDF, text, or an image) and the assistant drafts the prompt from it.
- From Library to start from a template, one of your past assignments, or one your department shared.
- Import from your LMS to pull the prompt from an assignment you already set up.
- Or write it yourself on a blank page.
See Building an assignment and Setting the AI policy on an assignment.
3. Set up the rubric
The rubric is how work gets graded. Define your criteria and the levels for each, or import a rubric you already have. The clearer the rubric, the more useful the feedback. See Building a rubric.
4. Collect submissions
Students can submit through a class link, or you can pull submissions in from your LMS. You can also upload papers you already have on hand, as PDF or Word files. See Uploading papers and Inviting students to a class.
5. Grade and review
Open a paper to grade it. The assistant reads it against your rubric and proposes scores and feedback. Nothing is final until you say so. You review, adjust, and confirm. See How grading works and Marking up a paper.
Before you grade a whole stack, the Validate step lets you run a few papers you have already graded, so the assistant learns how you score. See Validating the grader against your grading.
6. Release grades and reports
When you are ready, release grades and a marked-up report PDF back to students, and to your LMS if the class is connected. See Releasing grades and reports and What students see.
That is the whole loop. You can go as light or as hands-on as you like at every step, and the assistant in the corner of every page can point you at any control you cannot find.